Step by Step Method
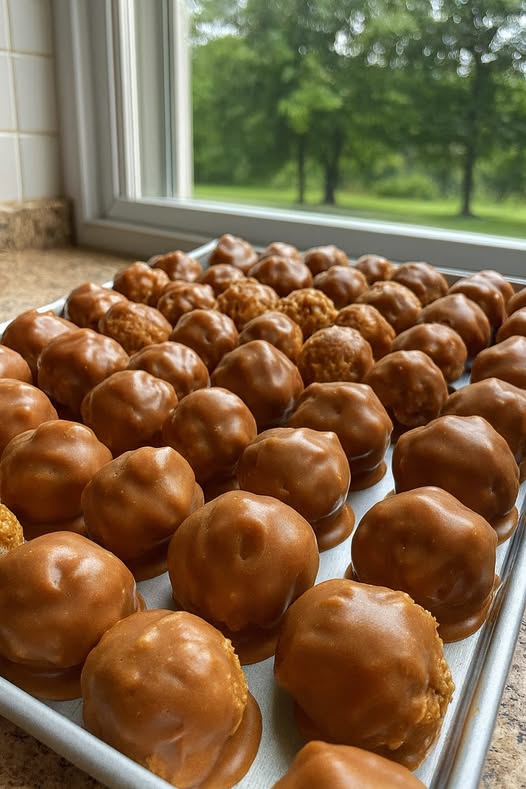
Making Grandma’s Peanut Butter Balls is very easy. Follow these simple steps carefully, and you will have a batch of perfect treats that everyone will love.
Step 1: Prepare the peanut butter mixture
Start by taking a large mixing bowl. Add the creamy peanut butter and softened butter into the bowl. Use a wooden spoon or an electric mixer to blend them until they become smooth and creamy. The butter should be at room temperature so it mixes easily with the peanut butter.
Step 2: Add sugar and flavor
Once the peanut butter and butter are combined, slowly add the powdered sugar. Add one cup at a time and stir well after each addition. Continue mixing until the dough becomes thick and easy to handle. Add the vanilla extract and a small pinch of salt to enhance the flavor. The dough should not be sticky. If it is too soft, you can add a bit more powdered sugar until it feels firm enough to roll into balls.
Step 3: Shape the balls
Now, line a baking sheet with parchment paper. Scoop small portions of the peanut butter mixture using a spoon or small cookie scoop. Roll each portion gently between your hands to form smooth balls. Try to keep them all around the same size so they look neat. Place each ball on the lined tray.
Step 4: Chill the balls
Once all the peanut butter balls are shaped, place the tray in the refrigerator for about 30 to 45 minutes. Chilling helps them firm up and makes it easier to dip them into the melted chocolate later. If you are short on time, you can also place them in the freezer for about 15 minutes.
Step 5: Melt the chocolate
In a microwave-safe bowl, add the chocolate chips. If you want the chocolate to be smoother and shinier, add a tablespoon of shortening. Heat the mixture in the microwave for about 20 to 30 seconds at a time, stirring after each interval until the chocolate is fully melted and silky. Be careful not to overheat the chocolate, as it can burn easily.
Step 6: Dip the peanut butter balls
Take out the chilled peanut butter balls from the refrigerator. Using a fork or a toothpick, dip each ball into the melted chocolate. Let the extra chocolate drip off before placing it back onto the parchment paper. You can dip the entire ball or leave a small part uncovered for a traditional look that many grandmas love to do.
Step 7: Let them set
After dipping all the balls, place the tray back in the refrigerator for about 30 minutes or until the chocolate coating becomes firm and shiny. Once set, your Grandma’s Peanut Butter Balls are ready to serve.
Step 8: Store properly
You can store the peanut butter balls in an airtight container in the refrigerator for up to two weeks. They can also be frozen for up to two months. Just make sure to separate each layer with parchment paper so they do not stick together.
For Complete Cooking STEPS Please Head On Over To Next Page Or Open button (>) and don’t forget to SHARE with your Facebook friends.